Deploying the Wild Rydes Demo Application
Clone the demo app repo
As a first step, we’ll deploy the demo app to your AWS account and then see how we can debug different problems with Lumigo.
RECOMMENDATION: you shouldn’t deploy this to your production AWS account. Use your personal account, or a playground account.
- First, clone this repo locally:
git clone git@github.com:lumigo-io/troubleshooting-serverless-workshop-demo
-
Go to the project folder
cd troubleshooting-serverless-workshop-demo/and runnpm cito restore all project dependencies. -
Open
serverless.yml, and on line 10, replace<INSERT YOUR NAME>with your name (without spaces or uppercase letters). -
In the project folder, run
npm run deploy-all. This will deploy both the Serverless backend and the Wild Rydes frontend application.
The deployment process will take a couple of minutes, so let’s talk about what’s going on here.
This project is using the Serverless framework to package and deploy both the frontend and backend.
- At the end of the deployment you should see messages like this:
Serverless: This deployment will:
Serverless: - Upload all files from 'client/dist' to bucket 'lumigo-workshop-yancui-dev-frontend'
Serverless: - Set (and overwrite) bucket 'lumigo-workshop-yancui-dev-frontend' configuration
Serverless: - Set (and overwrite) bucket 'lumigo-workshop-yancui-dev-frontend' bucket policy
Serverless: - Set (and overwrite) bucket 'lumigo-workshop-yancui-dev-frontend' CORS policy
Serverless: Looking for bucket...
Serverless: Bucket found...
Serverless: Deleting all objects from bucket...
Serverless: Configuring bucket...
Serverless: Configuring policy for bucket...
Serverless: Retaining existing tags...
Serverless: Configuring CORS for bucket...
Serverless: Uploading client files to bucket...
Serverless: Success! Your site should be available at http://lumigo-workshop-yancui-dev-frontend.s3-website-us-east-1.amazonaws.com/
The URL at the end is where the frontend is hosted, go to it.

That’s it, you’ve successfully deployed the Wild Rydes demo app!
Register and sign in
Unfortunately, there’s no “Registration” button anywhere on the page, so you need to add /register.html to the end of the URL to open the registration page.

-
Register a new account.
-
Get the verification code from your registered email.

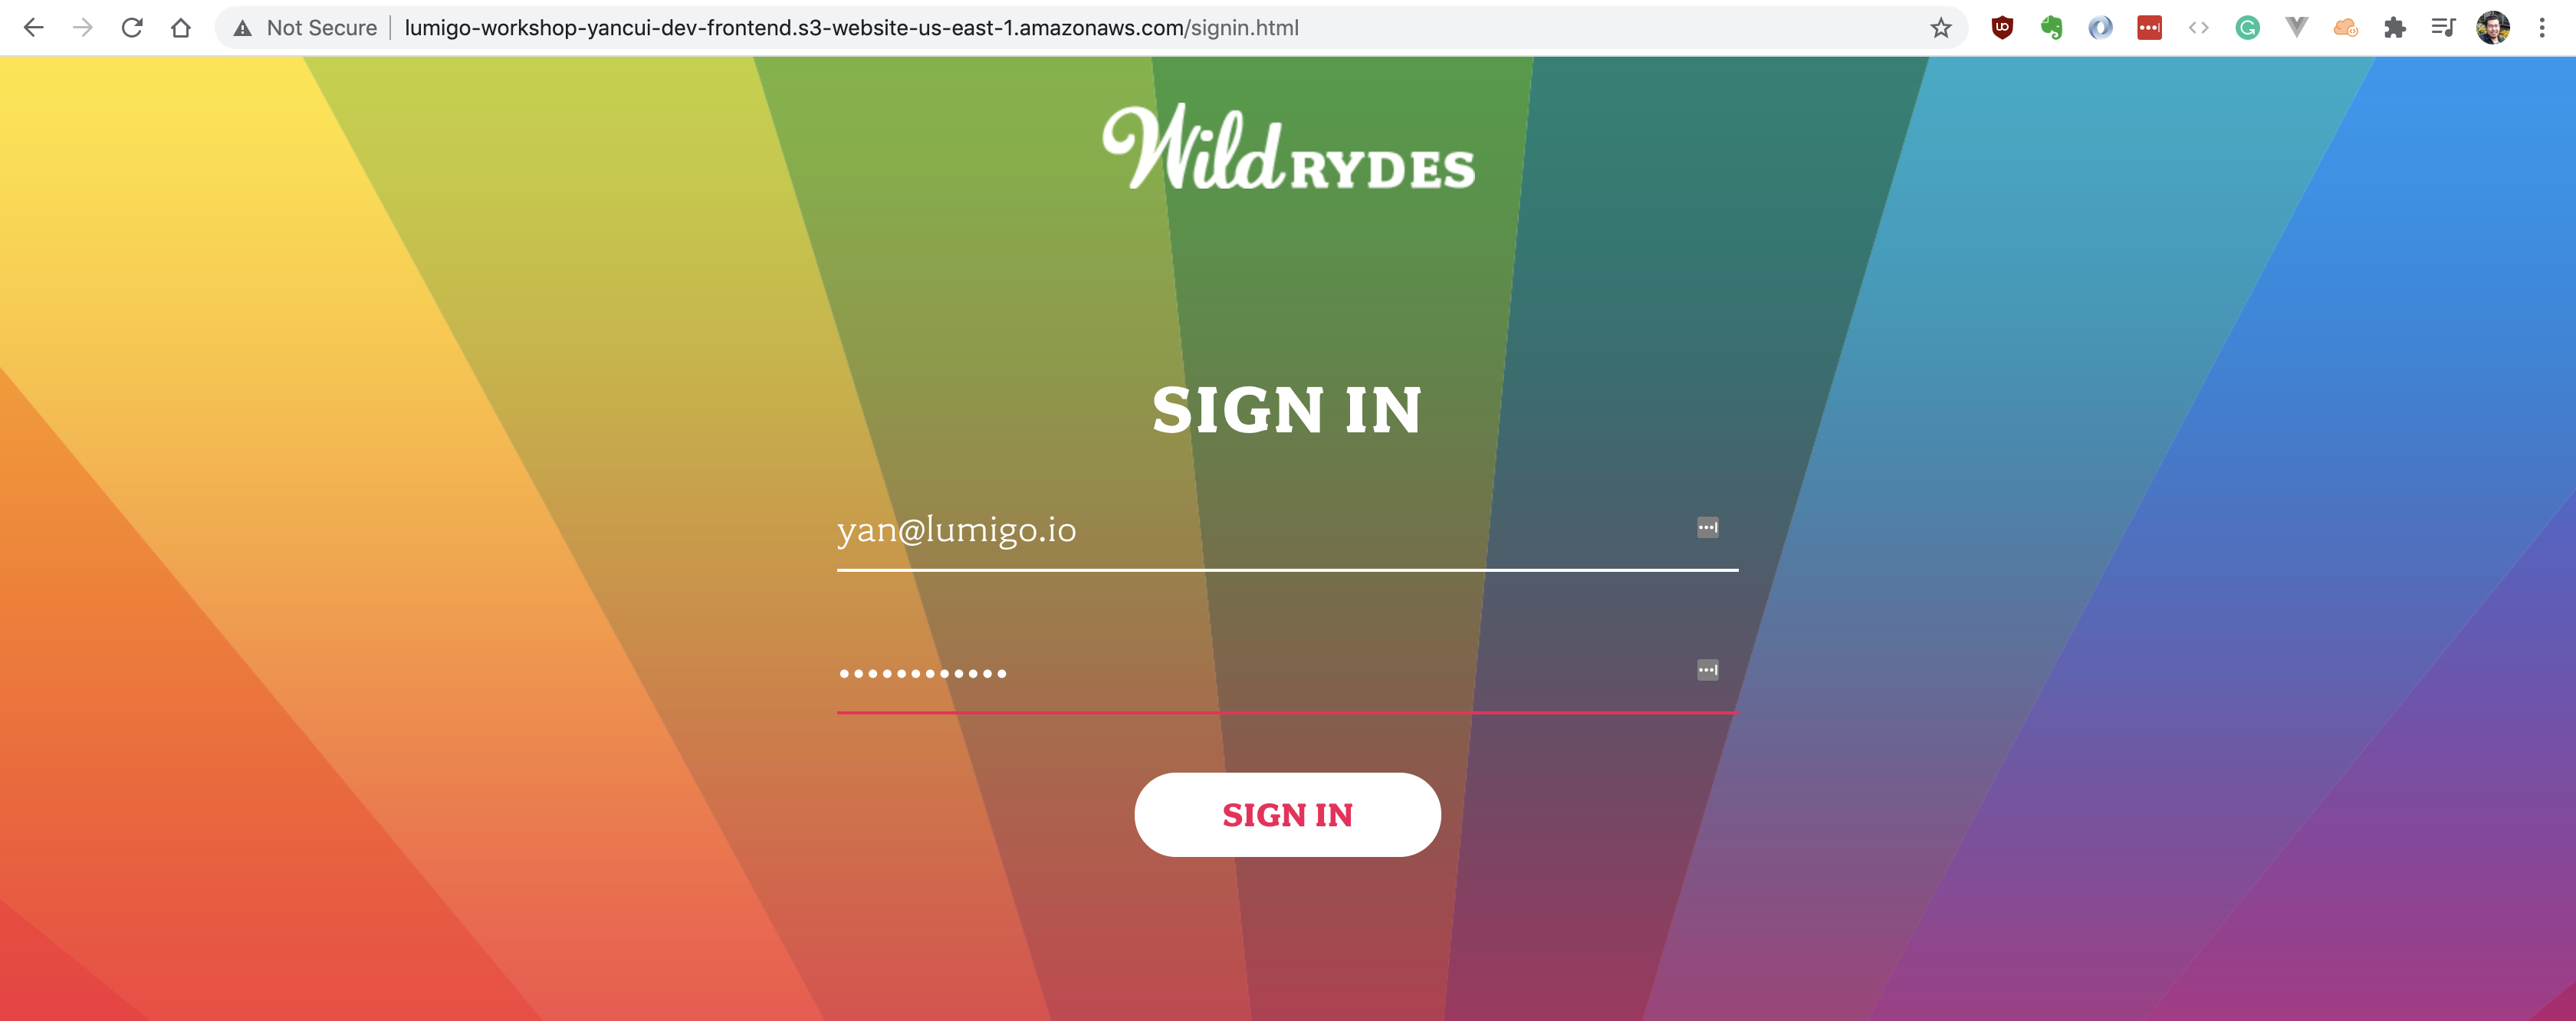
After you enter the verification code, you should be taken back to the sign-in page.
- Sign in.
- Wait a moment for the map to load, then click anywhere on the map to put down a marker. This is where you’ll hail for a ryde.
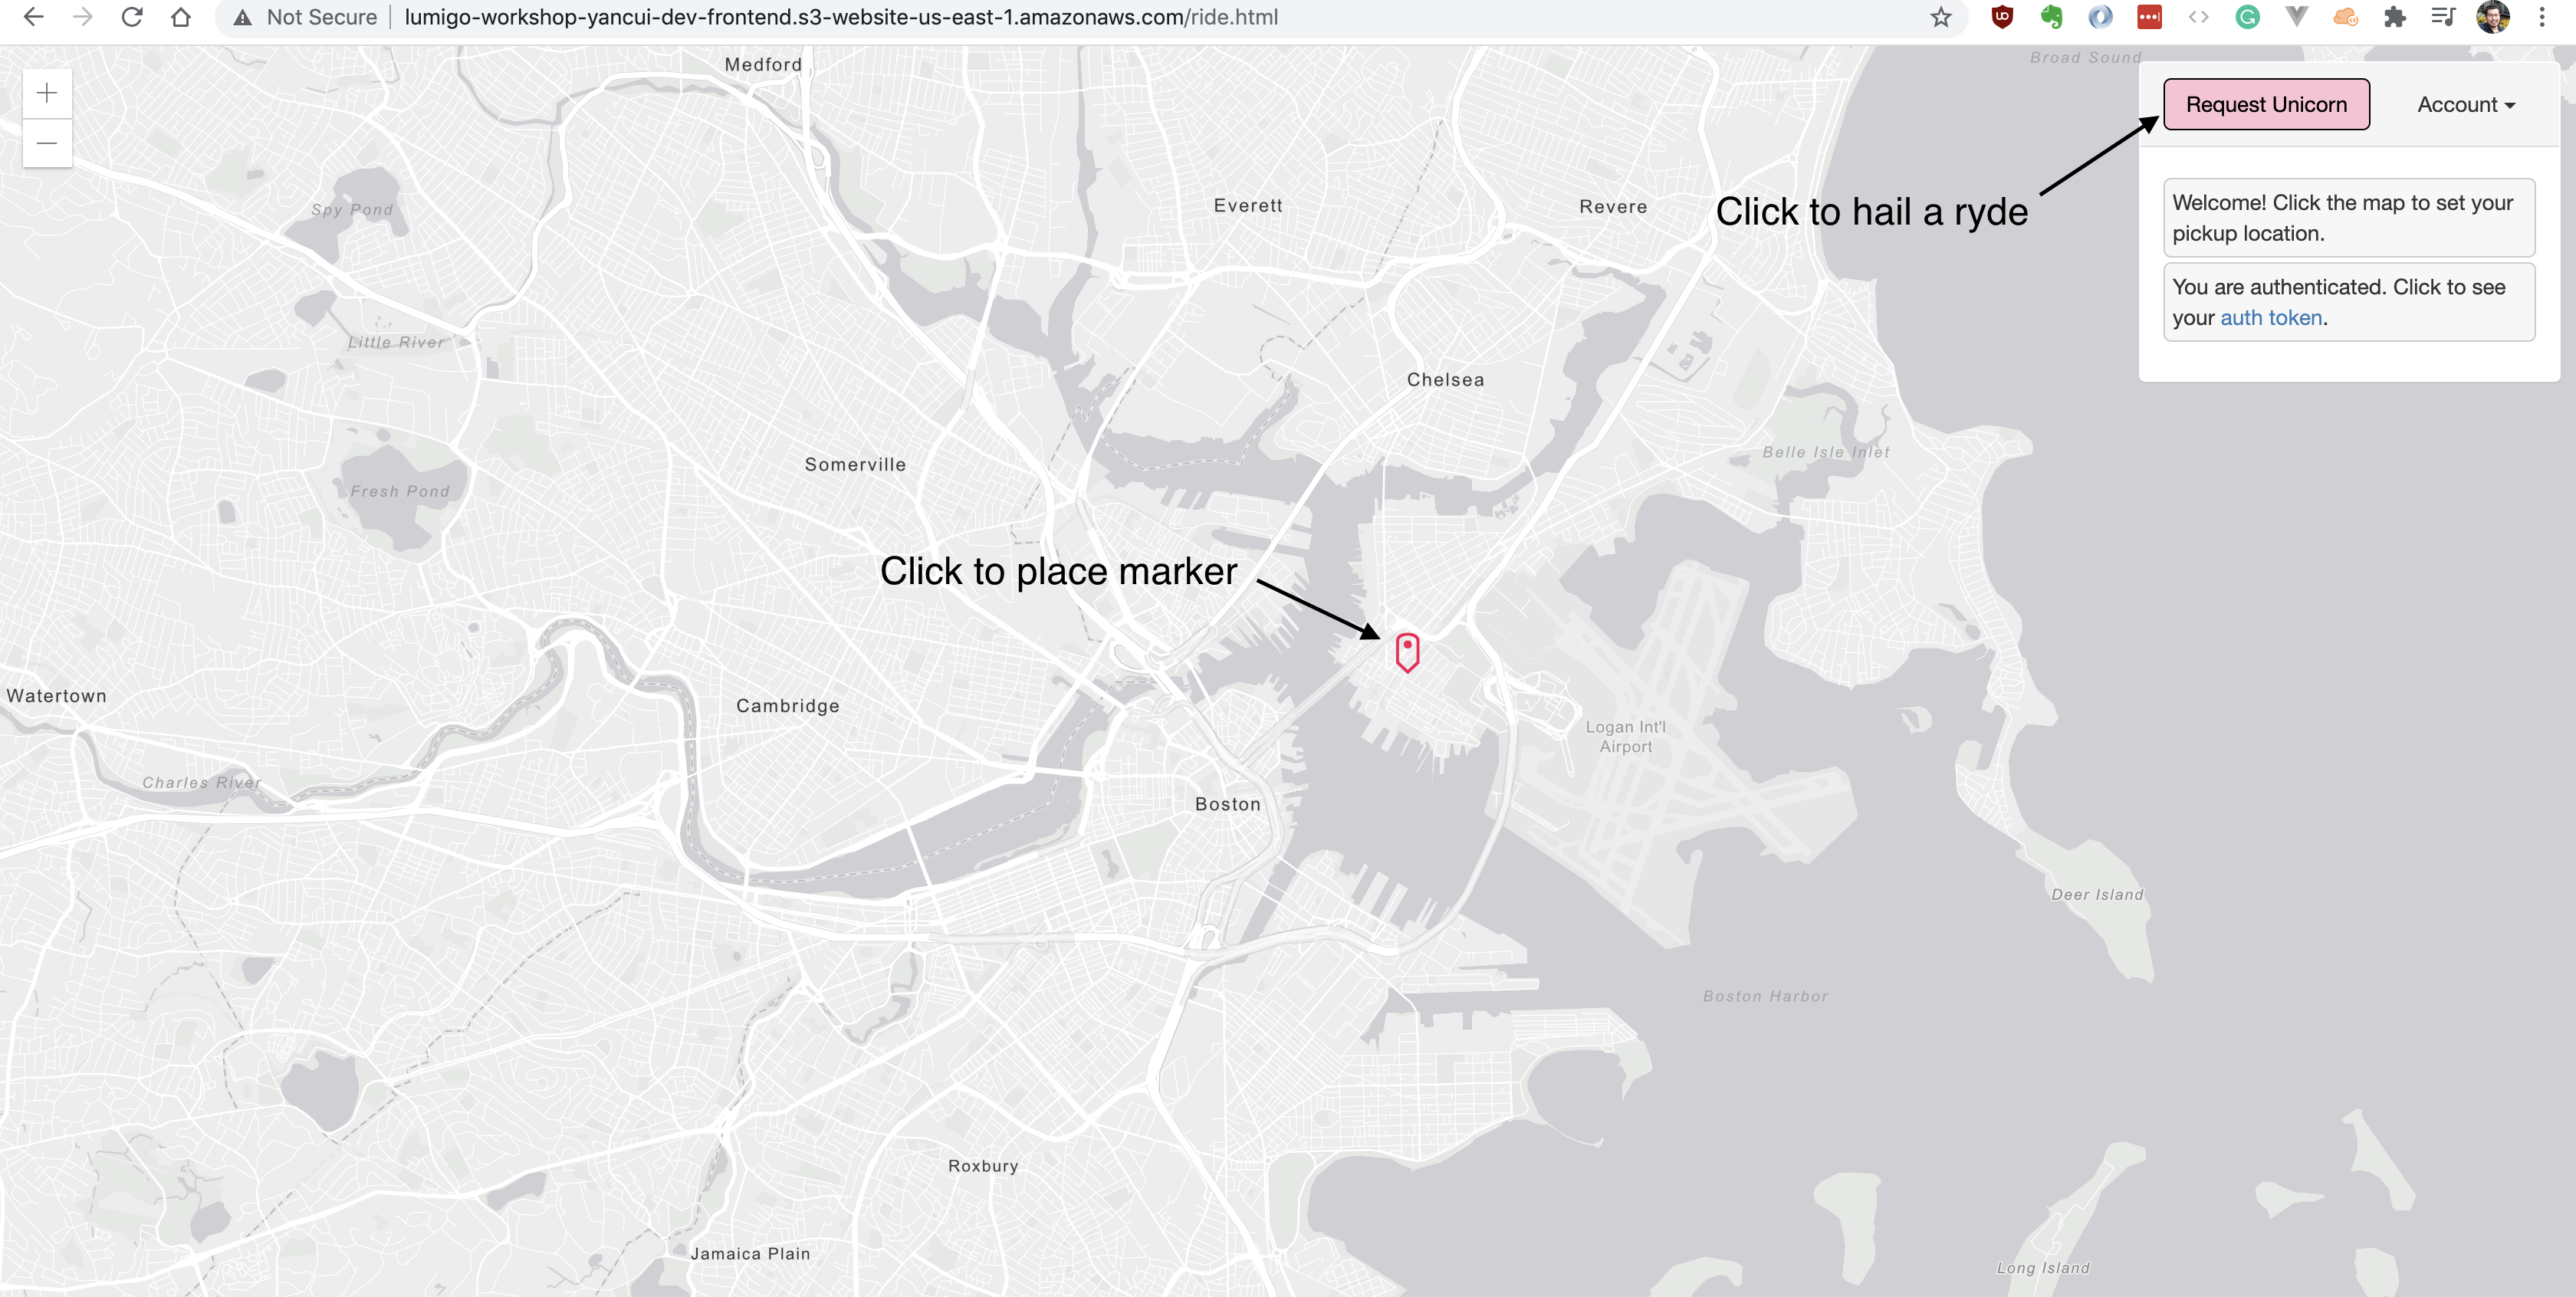
- Click
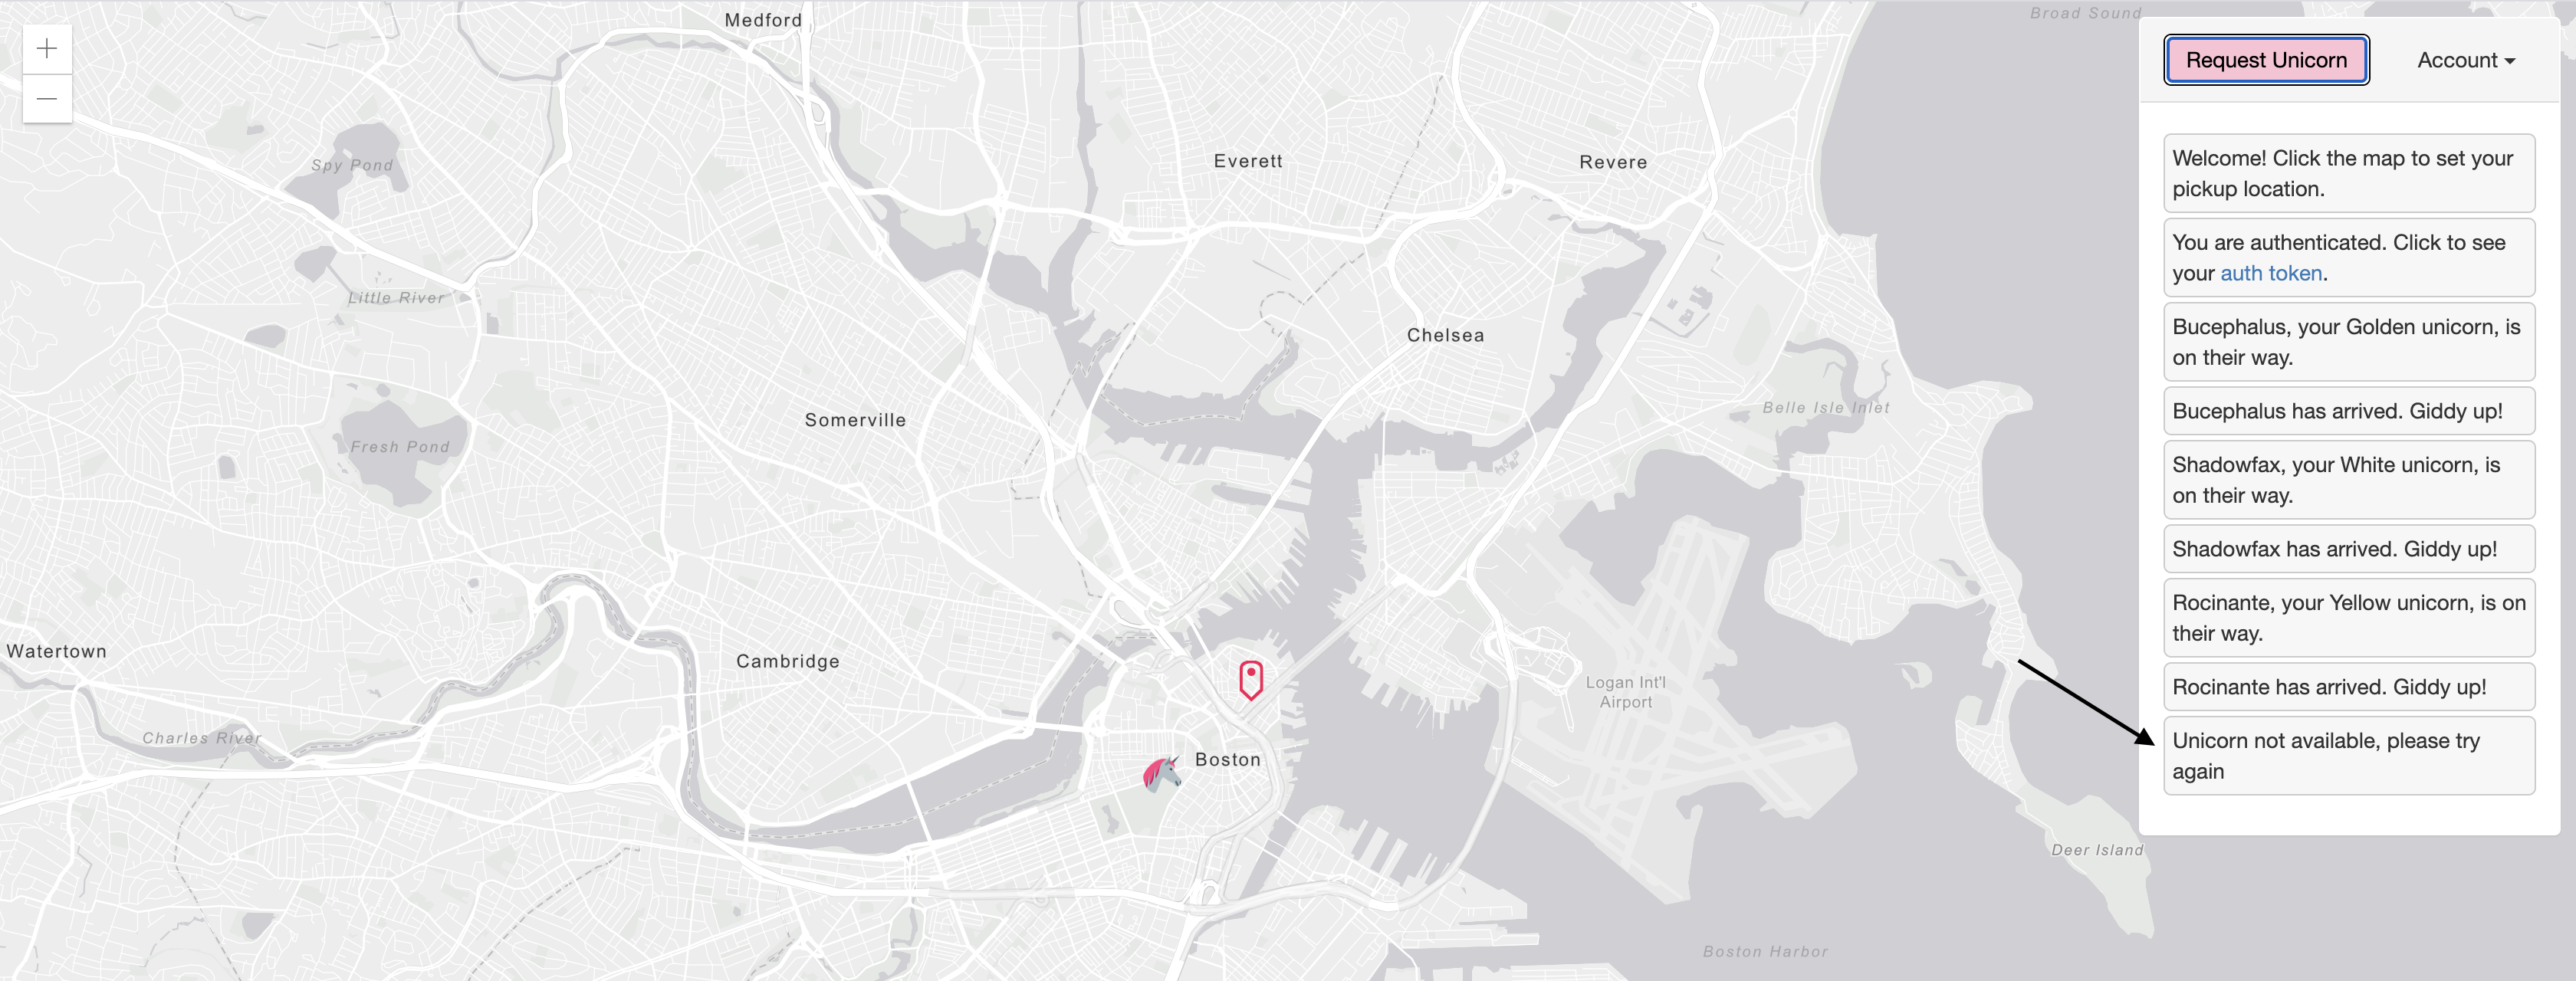
Request Unicorn. If the request was successful, then you’ll a see unicorn appear and arrive at your marker.
Do this several times, and you might see Unicorn not available because all the unicorns are busy.
And from time to time, nothing happens after you click Request Unicorn and then you get an error popup like this:

So, looks like there are a few problems in this app, let’s find them!